DIY Advent Calendar for Stationery Lovers
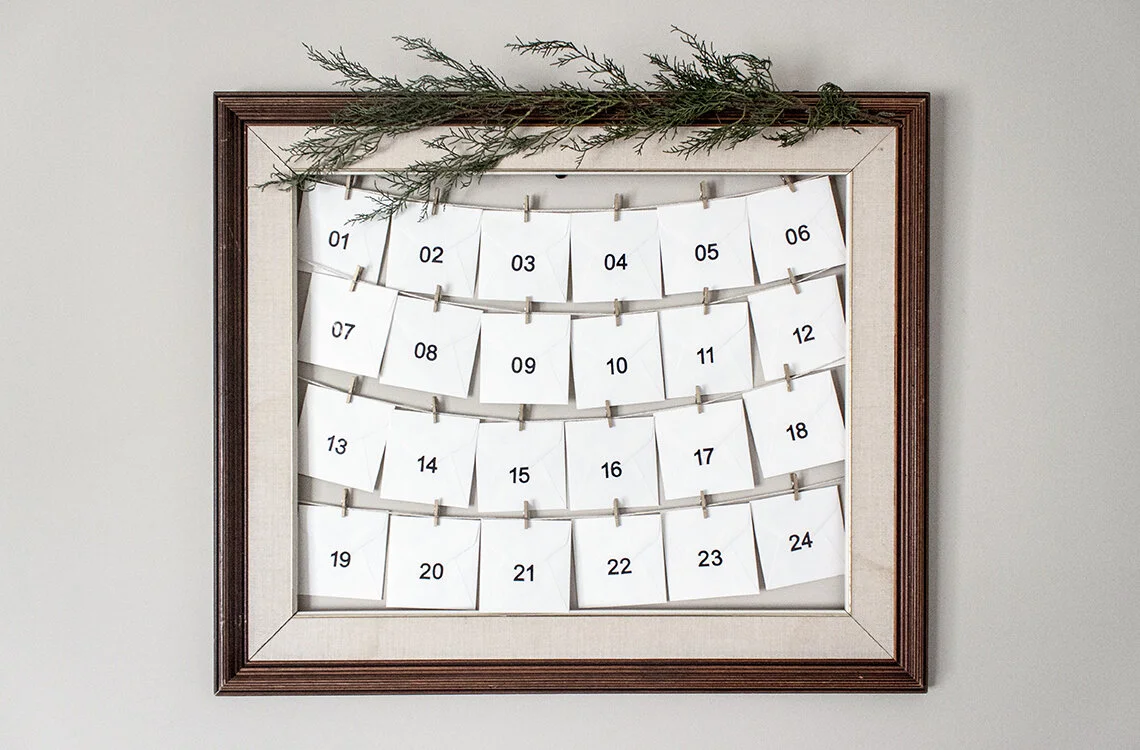
The countdown is on! Christmas is right around the corner and even though we won't be home for the holidays this year, I still wanted to add some festive touches around the house. One being this simple and beautiful advent calendar that is so easy to make and perfect for those of you that love writing or receiving thoughtful little notes once a day.
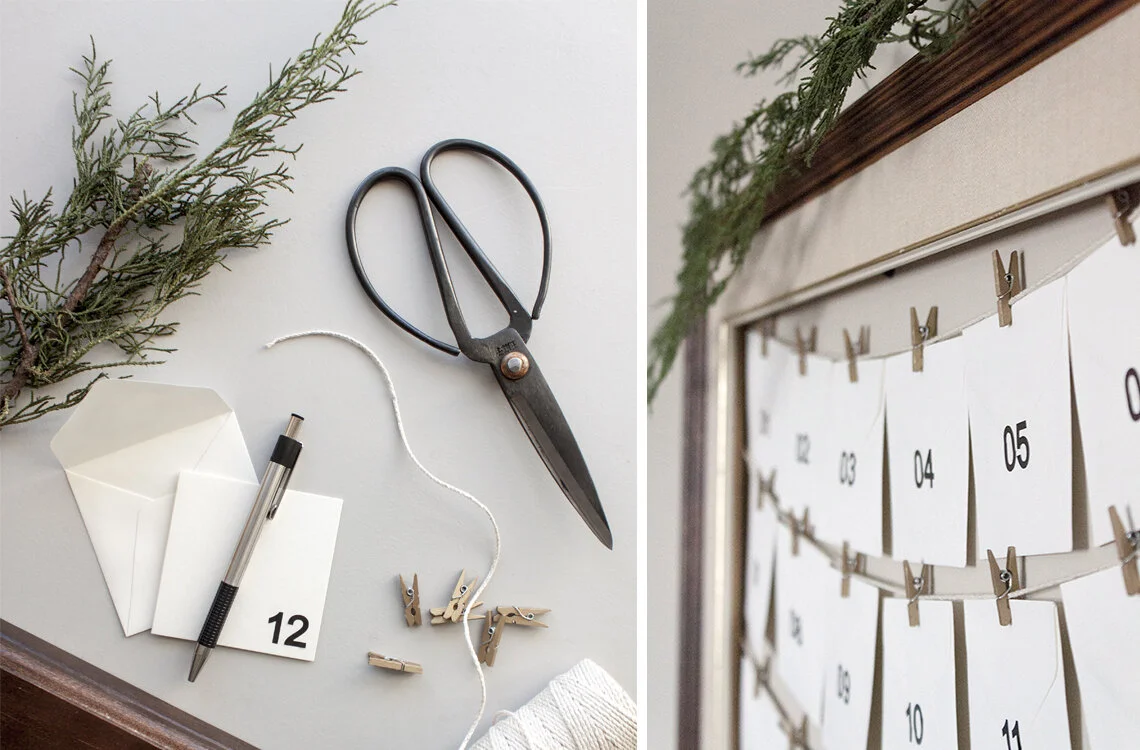
Things you'll need:
an empty frame
twine/string/wire
mini clothespins/bulldog clips/paper clips
mini envelopes with mini cards
number stickers
a sprig of something green and/or festive
STEP 1
Layout your notes. Decide on how long your countdown will be and what order you'll move in. Typically, you'll see a lot of 24 day calendars, sometimes with a bonus 'gift' on the 25th day. If you want to focus more energy on each individual day, you could opt for a 12 day timeframe as well. I went for the traditional 24 days - it's easy to layout 4 x 6, 3 x 8, 2 x 12, depending on the size and orientation of your frame and how you would like your mini envelopes to fit within it.
STEP 2
Setup your frame. Once you've laid out your envelopes according to the number of days in your calendar, you can cut the string for each row. You'll want to cut pieces with a few extra inches on each side to attach to the frame and allow for the natural dip from the weight of the envelopes and cards. Evenly space each row based on the size of your envelopes and glue or tape your string to the frame. Once the rows are in place, you can hang your frame!
STEP 3
Start writing! If you're making this advent calendar for a certain someone, you can leave very personal and thoughtful messages in each envelope. What you like about them, memories from last year's holidays, or inside jokes. If the calendar is for you or the house (and everyone in it), fill the envelopes with motivational quotes, festive sayings, or funny photos. It's really up to you. The mini envelopes I bought from Michaels came with matching little cards but you could use colourful, festive cardstock or scrap wrapping paper. The possibilities are endless!
STEP 4
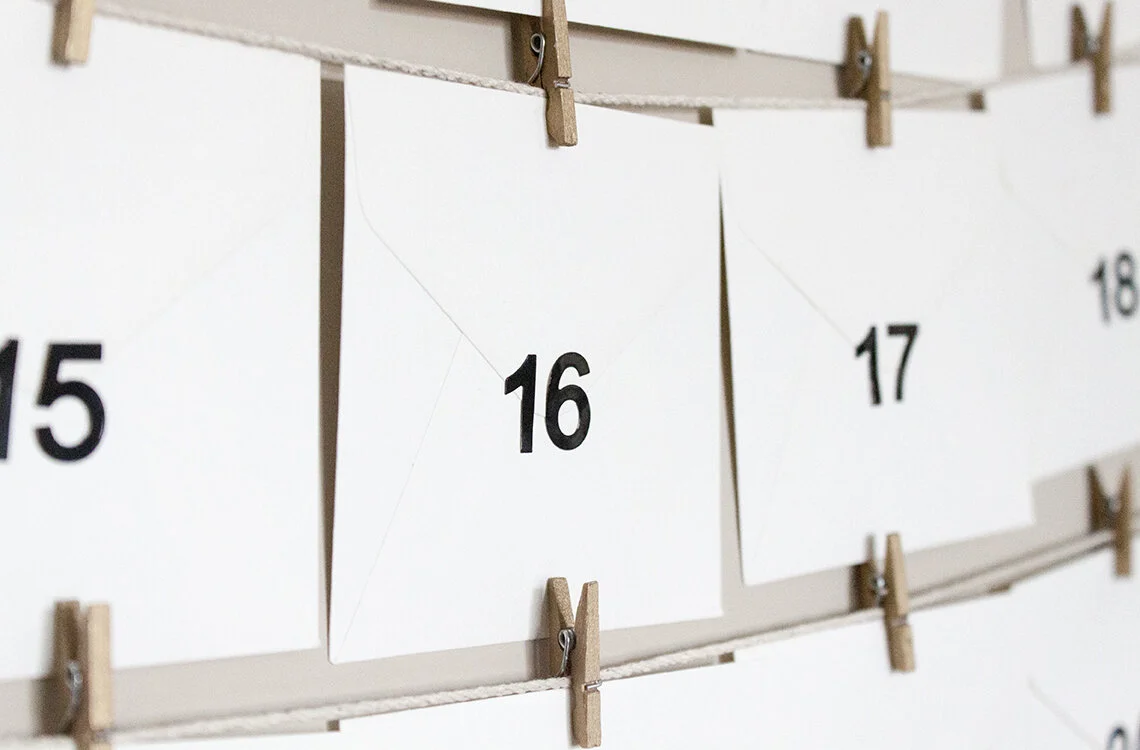
Fill, seal, and hang your notes. You'll need to keep track of the days somehow. I found these simple number stickers at a local dollar store - perfect for keeping track of the order and making sure no one sneaks a peek early. You could also lick and seal the envelopes and draw on your own numbers for an even more personal touch. Finally, time to hang them up. Depending on which way you want to countdown, start with 1 or 24 and work your way along the rows using the cutest mini clothespins ever.
BONUS
Top it off with a sprig or two of fresh Christmas greens, a big bow made of textured ribbon, or copper string lights. This part is not required but so worth it.

I adore the way this advent calendar turned out. I currently have mine hanging in our bedroom but will probably relocate it somewhere downstairs once I clear up some wall space. If whimsical advent calendars are your thing, I'd love to see what you've come up with this year. Tag your photos using #UHdecor