The Anatomy of a Wedding Invitation Suite

I am a firm believer that the invitation suite sets the tone for your wedding. The decisions you make at this point of the process can help you all the way through to your wedding day. Are you a minimalist? Traditionalist? Trend-setter or old soul? Including elements of your personality as a couple will give guests a sense of what to expect for the big day, so have some fun with it!
With that being said, there are some things you just don't mess with. Guests are going to need to know some important information about your wedding, so save the trouble of multiple follow-up questions by including the essentials in your package. I know this process might be overwhelming but I'm here to help!

1. THE INVITATION
This is the main event of your wedding invitation suite. Typically, invitations are A7 (5" x 7") or square (6" x 6") cards, but you can have a little fun with the size and shape as long as it fits in a standard envelope - you're going to have to mail these to your guests somehow! Your envelopes are also a good place to add some of your personal style. Whether you print the addresses, dress them up with some custom calligraphy, or hand write them and the types of stamps you choose can reveal a lot about what's inside and what's to come.
Some key pieces of information to include:
Bride and Groom's names (can be first name only, first and middle name, first and last name, or all three names)
Date (day, month, year)
Time (am or pm)
Location (including the name, address, city)
Some optional pieces to include:
The names of whoever is hosting (paying) for the wedding (one set of parents, both sets of parents, or none at all)
Dress (black tie optional, formal attire, cocktail attire, etc.)
Reception to follow (include this here if it's not included on an enclosure card)
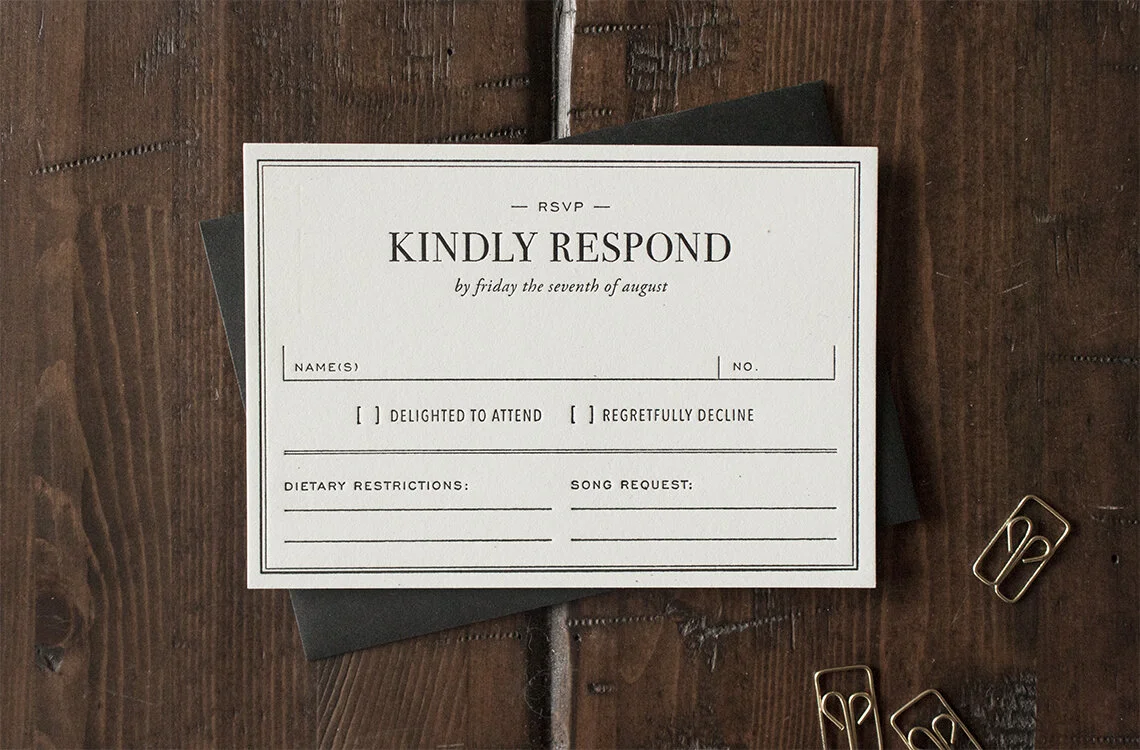
2. THE RSVP
This smaller card (typically a 4.25" x 5.5" A2 card) helps you collect some important feedback from your guests. You're going to want spaces for their name(s), the number of guests attending, an option to attend or decline, and any dietary restrictions (whether it's a selection of meals your caterer is offering or space for allergies/preferences). We gave the option for guests to include a song request as well - something fun for them with all the other paperwork. Also, it's key to include a due date. Set this day two-three weeks before your wedding. It will allow time for your caterers, your seating chart, and to bug anyone who hasn't responded in time (there are always a couple of those).
It's customary to provide return postage and envelope with these response cards so keep that in mind when setting your budget. An increasingly popular alternate is to include a link to your wedding website (the knot has some nice ones for free!) and collect responses there but I actually loved checking the mail everyday for RSVP envelopes. Whichever option you choose, you're going to need some way of determining which of your invited guests will be attending your wedding.


3. THE ENCLOSURES
Enclosure cards are a lot less regimented than parts 1 and 2. They vary in size, quantity, and content. Here you can provide any additional information you would like to offer your guests depending on the setup and logistics of your wedding.
Examples include:
Accommodations - listing addresses of the nearby hotel(s) where you have blocked rooms for your guests
Map - a traditional option for directions
Registry - include where you are registered because guests will ask
Instagram - share your couple hashtag for guests to use when posting photos online


4. THE EMBELLISHMENTS
Embellishments are the best way to add personality to your invitation suite. Even if you use a template design, you can easily add a personal touch with a little extra effort. You can find string, tape, clips, ribbons, feathers, wax seals, gold foil and all sorts of beautiful options at any craft store or online shop. There are tons of creative individuals offering beautiful handmade products that are perfect for the final touch of your wedding invitation suite. My advice to you: don't go overboard. Pick one statement item and one supporting item to complement your printed pieces. These will bring the whole design together and can easily be carried into the details of your wedding day.
Now that you know what the rules are (and when to break them), I hope you have the confidence to make decisions about your wedding invitation suite. If not, feel free to send any questions my way at hello@utilityhouse.ca and I would be happy to help you out!